When a pastor changes appointments the benefits he or she are participating in continue on as they move to the new appointment. However, where the bill gets sent for these benefits usually needs to be updated. Here are some steps to follow in the Benefits application after appointment changes have been made to ensure that the correct billing entity gets the bill.
For this example, Jim is ending his current appointment at Roscoe on 06/30/2012 and beginning a new appointment at Union Avenue on 07/01/2012. In order to change where his bill gets sent we will set a stop date for all of his billing entities associated with the Roscoe appointment and add a new billing entity associated with his Union Avenue appointment.
While this example involves a clergy person, the stop all billing entities function can also be used for laypersons.
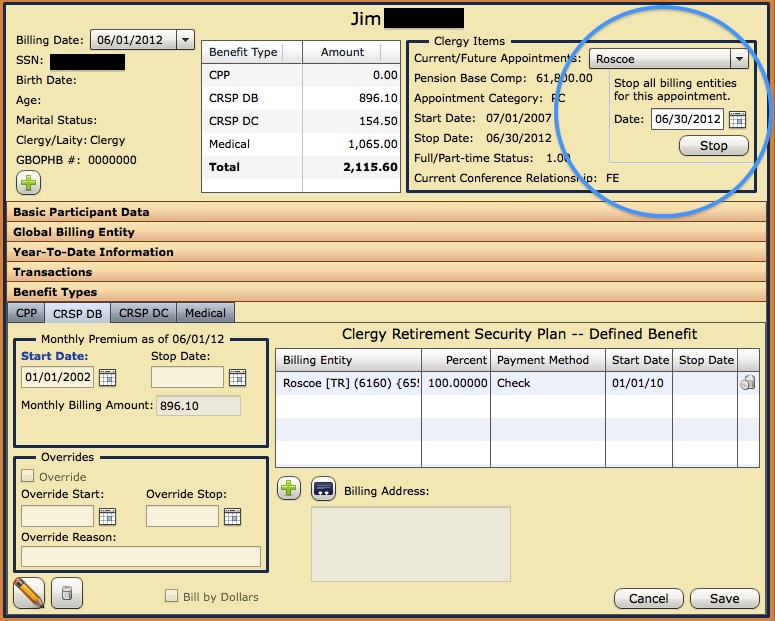
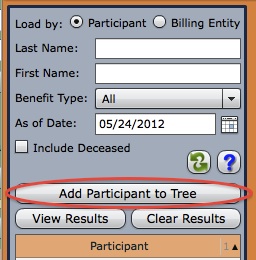
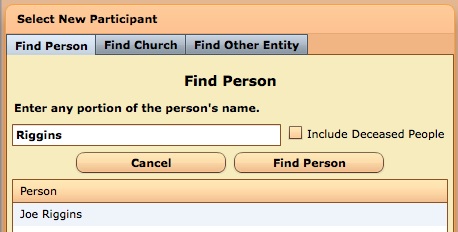
After searching for and selecting Jim from the participant list we select the Roscoe appointment from the “Current/Future Appointments” dropdown. Notice that immediately below this dropdown we have added a new shortcut for stopping all billing entities for the selected appointment.
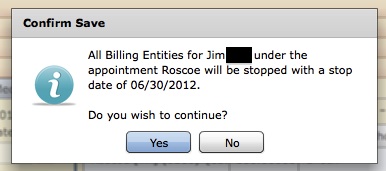
This new function will put a stop date on any billing entity that is associated with the selected appointment for that participant. It even works for split billings or bill by dollars situations. After clicking the Stop button you will be asked to confirm the selected information.
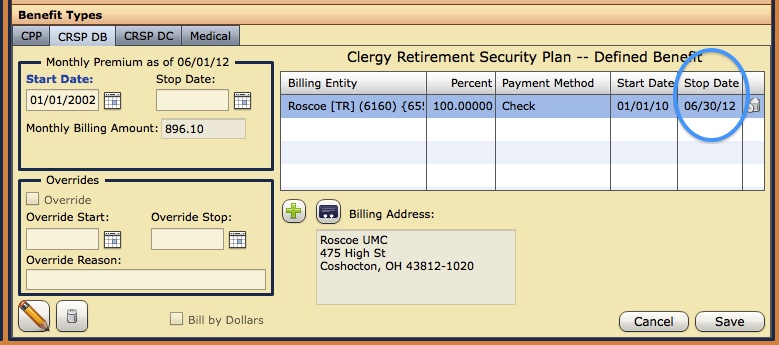
Once confirmed the stop date will be added to all billing entities and the benefit types tabs will be refreshed, reflecting the newly added stop date.
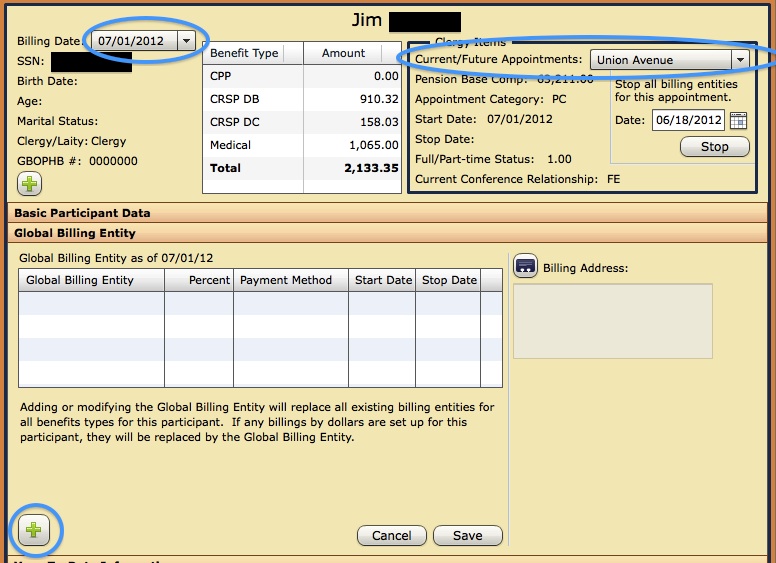
We have successfully stopped billings for Roscoe after 06/30/2012, next we need to add a billing entity for the new Union Avenue appointment. To do this select the Union Avenue appointment from the “Current/Future Appointments” dropdown and then select a billing date that is on or after the appointment start date. Click on the Global Billing Entity Panel and select the add new plus button in the lower left corner.
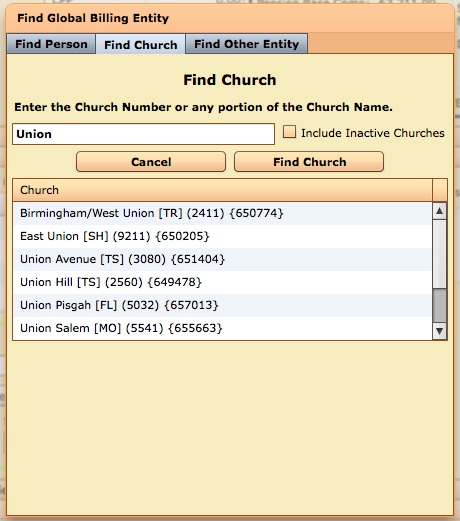
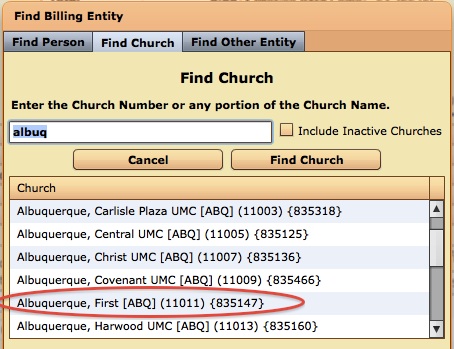
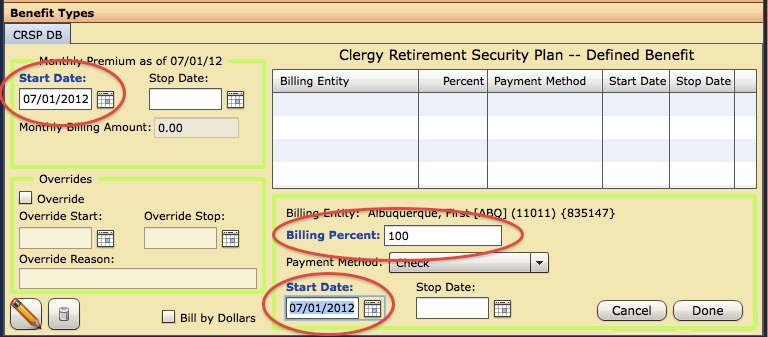
Search for and select Union Avenue as the new billing entity. Enter the Billing Percent, Payment Method and Start Date for this billing entity, then click Done and Save. If you need to do a split billing, then before clicking Save, click the green plus button a second time to search for and select a second billing entity to split the billing with.
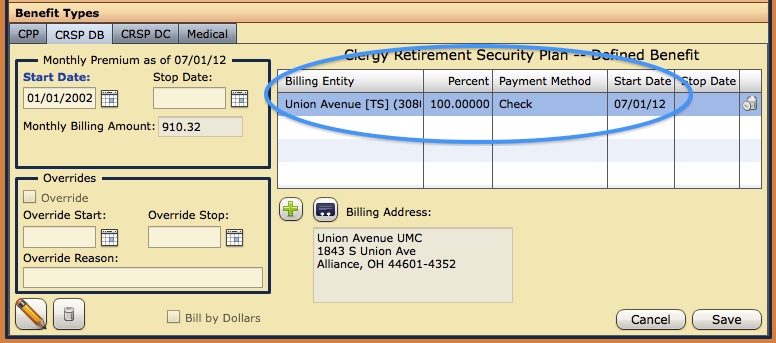
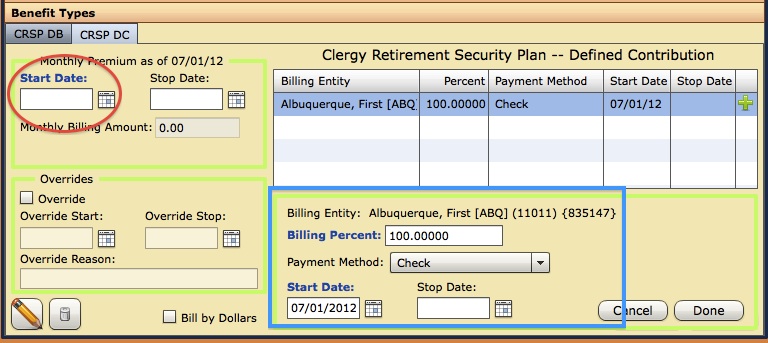
By using the Global Billing Entity panel, after we click save, the billing entity we entered has been applied to all benefit types for Jim associated with the Union Avenue appointment. If one of his benefit types needed a unique billing entity situation, it can be edited on that specific benefit type tab after using the Global Billing Entity.
